The Text Entry dialog box allows you to create text for your movies. The text will only be printed in the movie image area. This dialog box is identical to the one used to create titles and captions on the Print Layout Page.
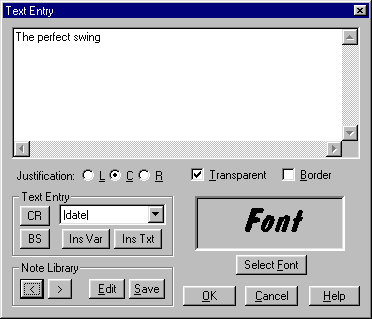
When in text mode, the first click of the mouse displays the text dialog box, as shown below. The text contents, font, and justification are specified here. Once OK is selected, the text is placed as desired on the screen with a left mouse click.
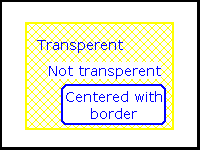
When the text entry box is displayed, the last note used is the default text. To enter new text, just start typing. Click in the text box at the desired location to modify the text. Justification of either left, right, or centered is selected with the buttons underneath the text box, as are the Transparent and Border settings
The CR and BS buttons allow carriage returns and backspaces to be selected with the mouse.
The drop-down selection box allows a system variable such as date, time, movie name, movie frame number, etc. to be selected. The Ins Var button will insert the selected variable code into the text box at the current cursor location, while the Ins Txt button will insert the value of the variable in the text box. Use Ins Var if you want the text to be automatically updated every time it is drawn.
You can have a library of standard text and titles for quickly adding captions. An example of standard titles is to create notes of common problems or descriptive titles of the skill being printed. You can select them from the Note library by paging through the library with the < and > buttons. The Save button saves the current note (as typed into the dialog box) at the end of the note library.
The note library is a simple text file names VISNOTES.TXT located in the same directory as the VIS program. The Edit button will display the note library in a text editor (Notepad). VIS notes in this file are delineated by a single line containing the characters ##. By using the edit function you can modify, rearrange, and delete existing notes.
A sample of the currently selected font is displayed and can be by using the Select Font button. This button displays the standard Windows font selection dialog box.